Sony VAIO PCG-C1XN disassembly guide
This page was created 11/02/25
This page was last modified 24/02/26
This is a guide on how to disassemble the second generation of Sony VAIO PCG-C1 laptops. The second generation model names start with a PCG-C1X*, so for example a PCG-C1XN, or PCG-C1XD.


Improvements coming to this page will be: a battery cell replacement guide, a SSD buying guide and an updated CMOS replacement guide.
Items needed:
- Small flathead screwdriver
- Small philips head screwdriver
Optional:
- New CMOS battery
- IDE to mSATA adapter
Disassembly:
- Turn the machine around so that its bottom is accessible.
- Remove the battery.
- Remove the 5 screws, including the one for the RAM expansion slot.
- Optional - Remove the RAM expansion cover.
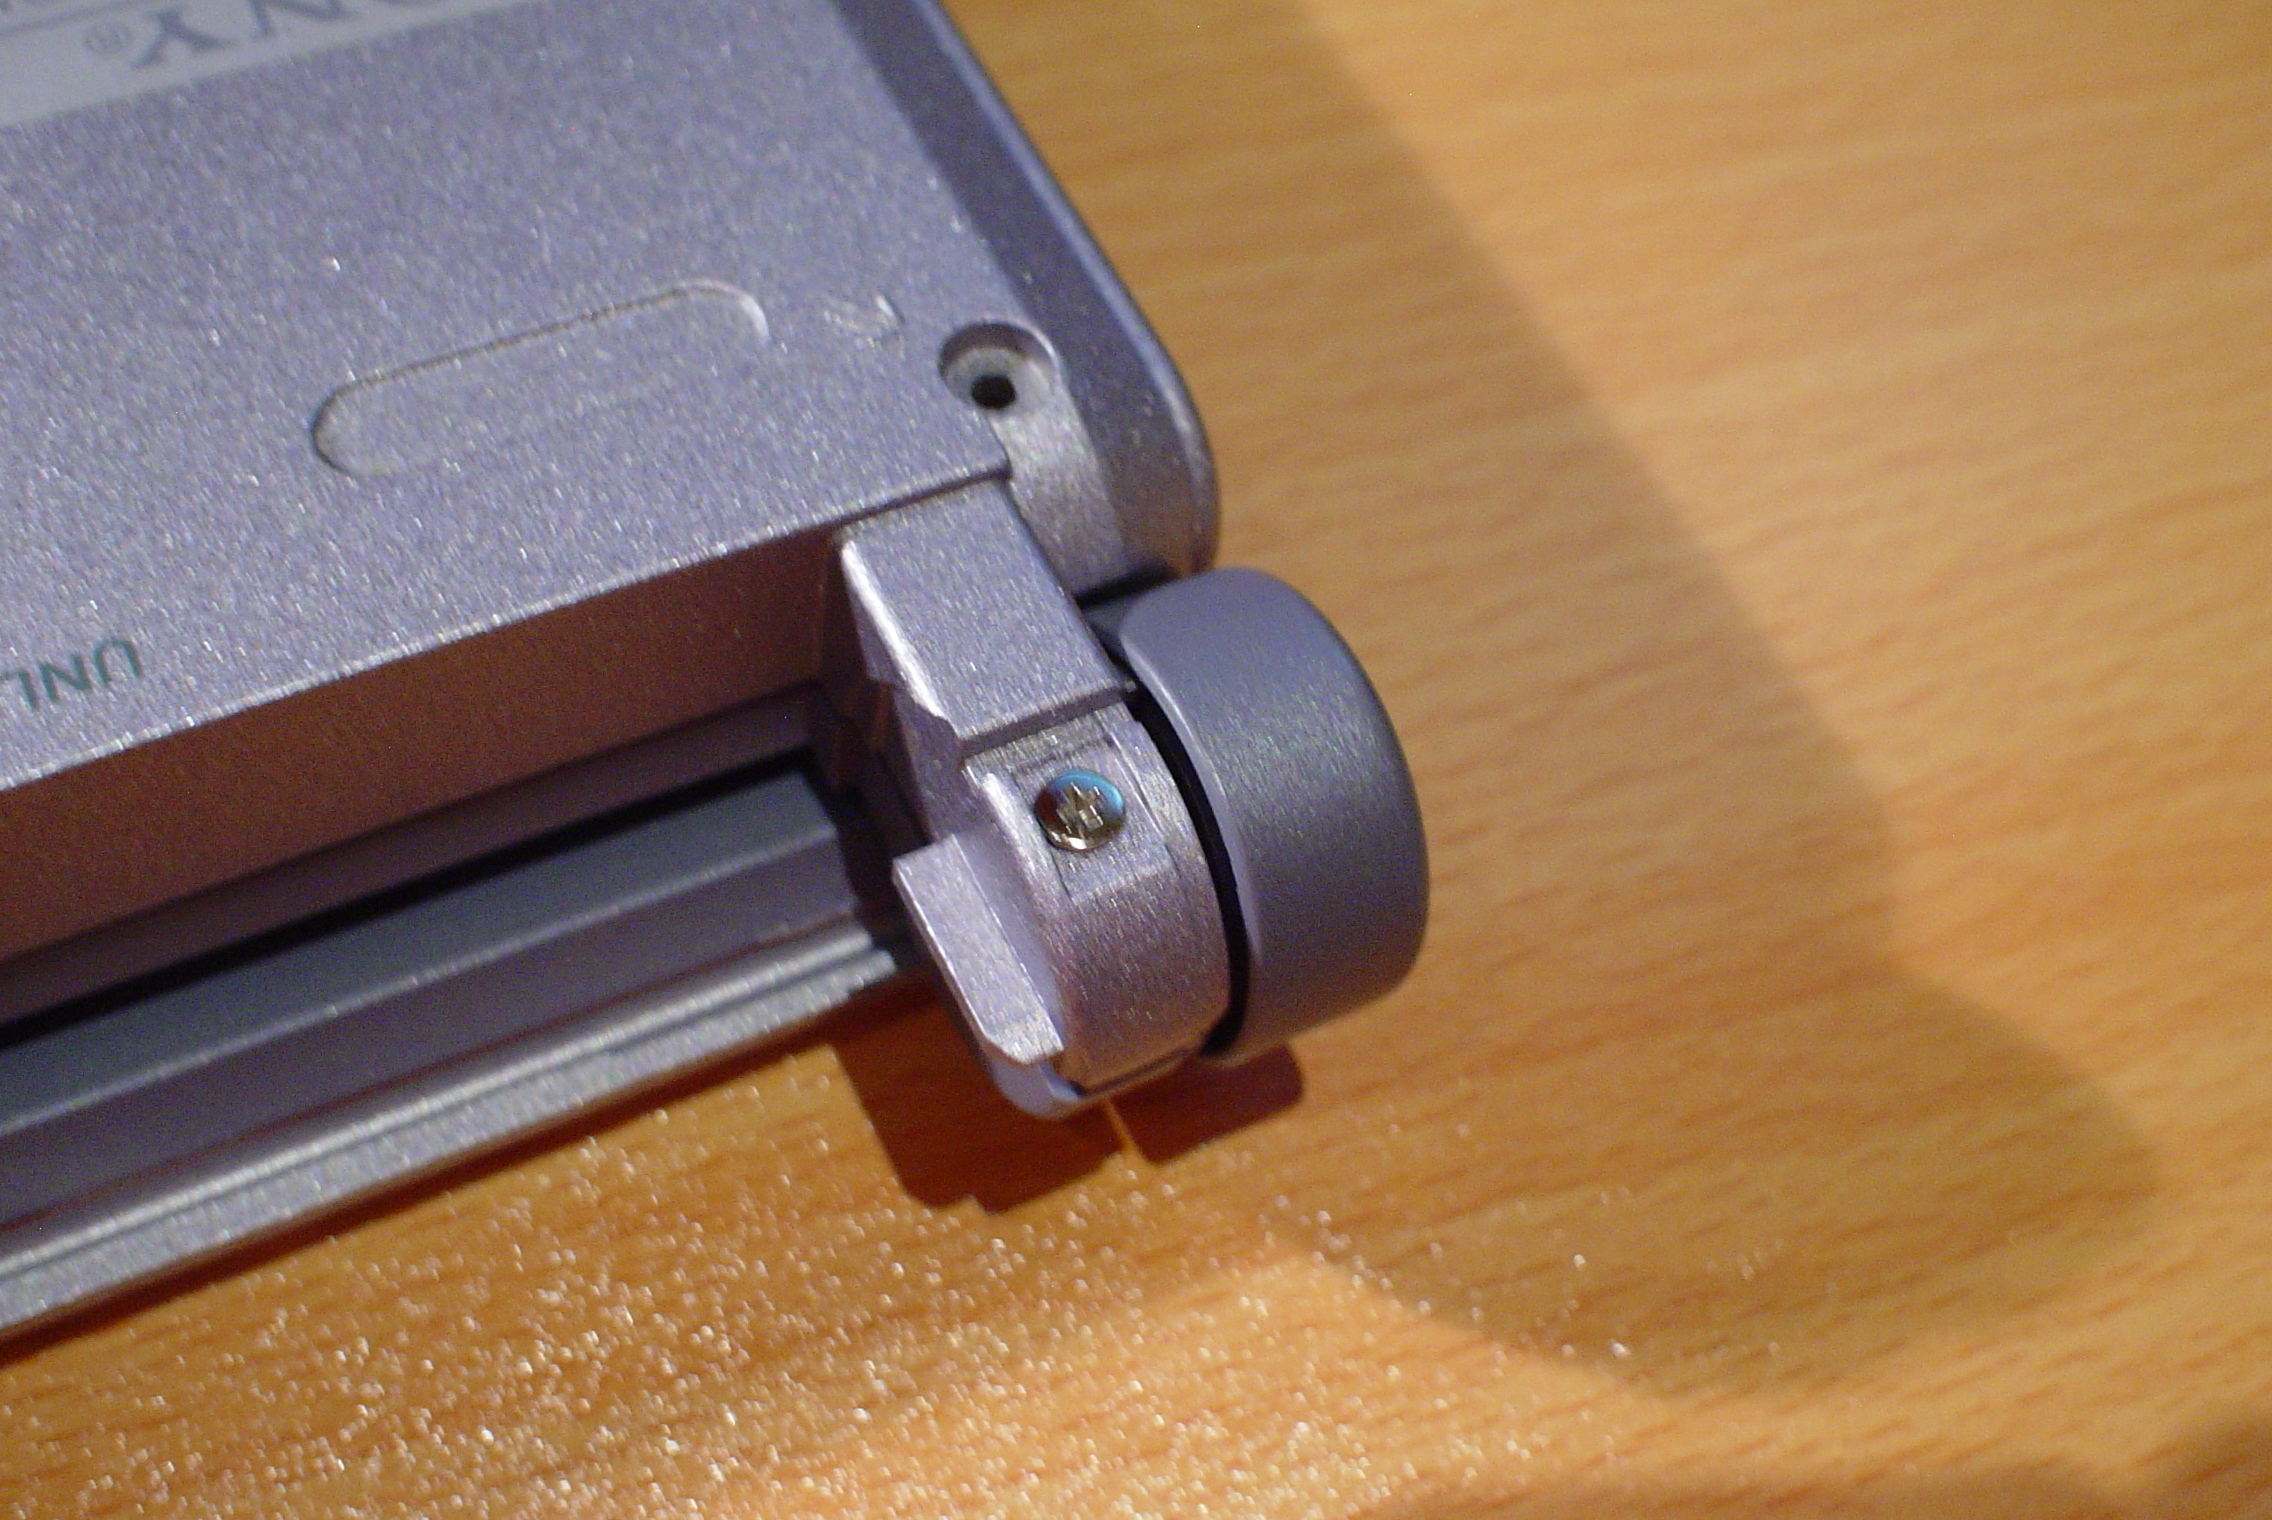
- Now go to the side of where the battery was. There are two small covers, one on each side. Remove these by sticking a small flathead screwdriver underneath it and popping it out. I've made a video on how to do this here.
- Underneath the small covers should be two screws, one on the bottom of the machine and one which is only visible when opening the laptop.
- Unscrew these two screws.
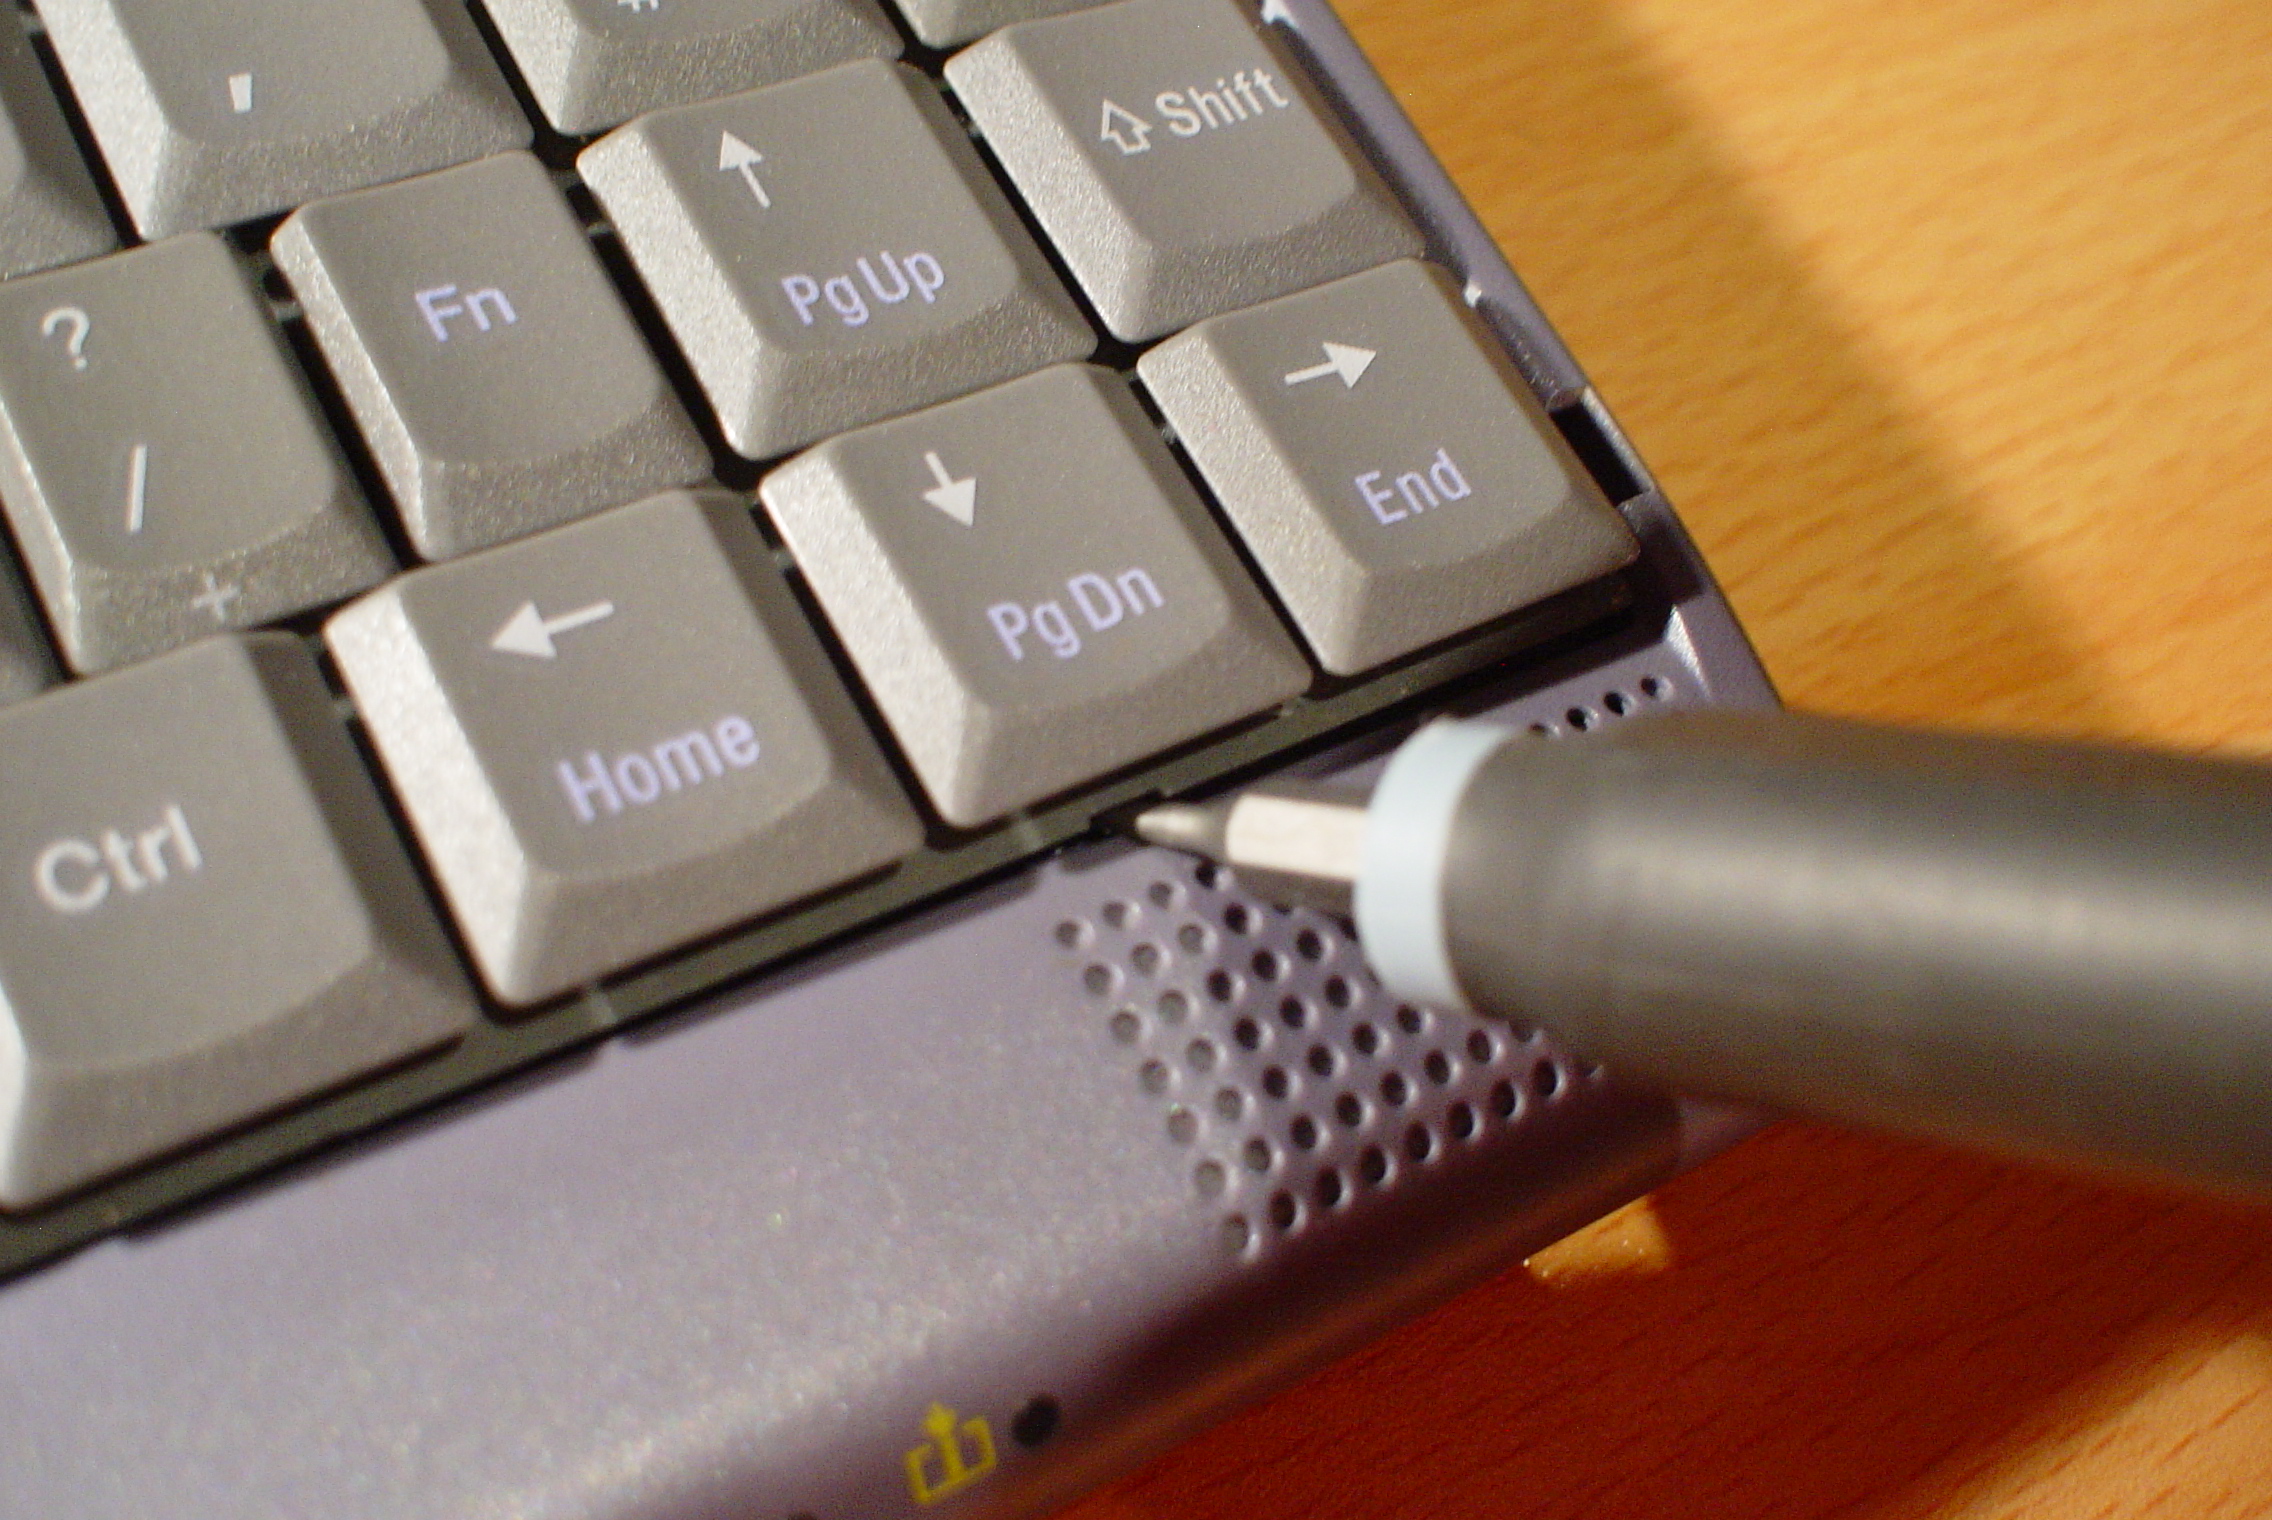
- On the bottom left and right of the keyboard, there should be two small plastic clips holding the keyboard in place. On the right and left of these respectively, there should be a small indent in the keyboard where you can stick a small flathead screwdriver. Use the screwdriver to pop off the keyboard on both sides.
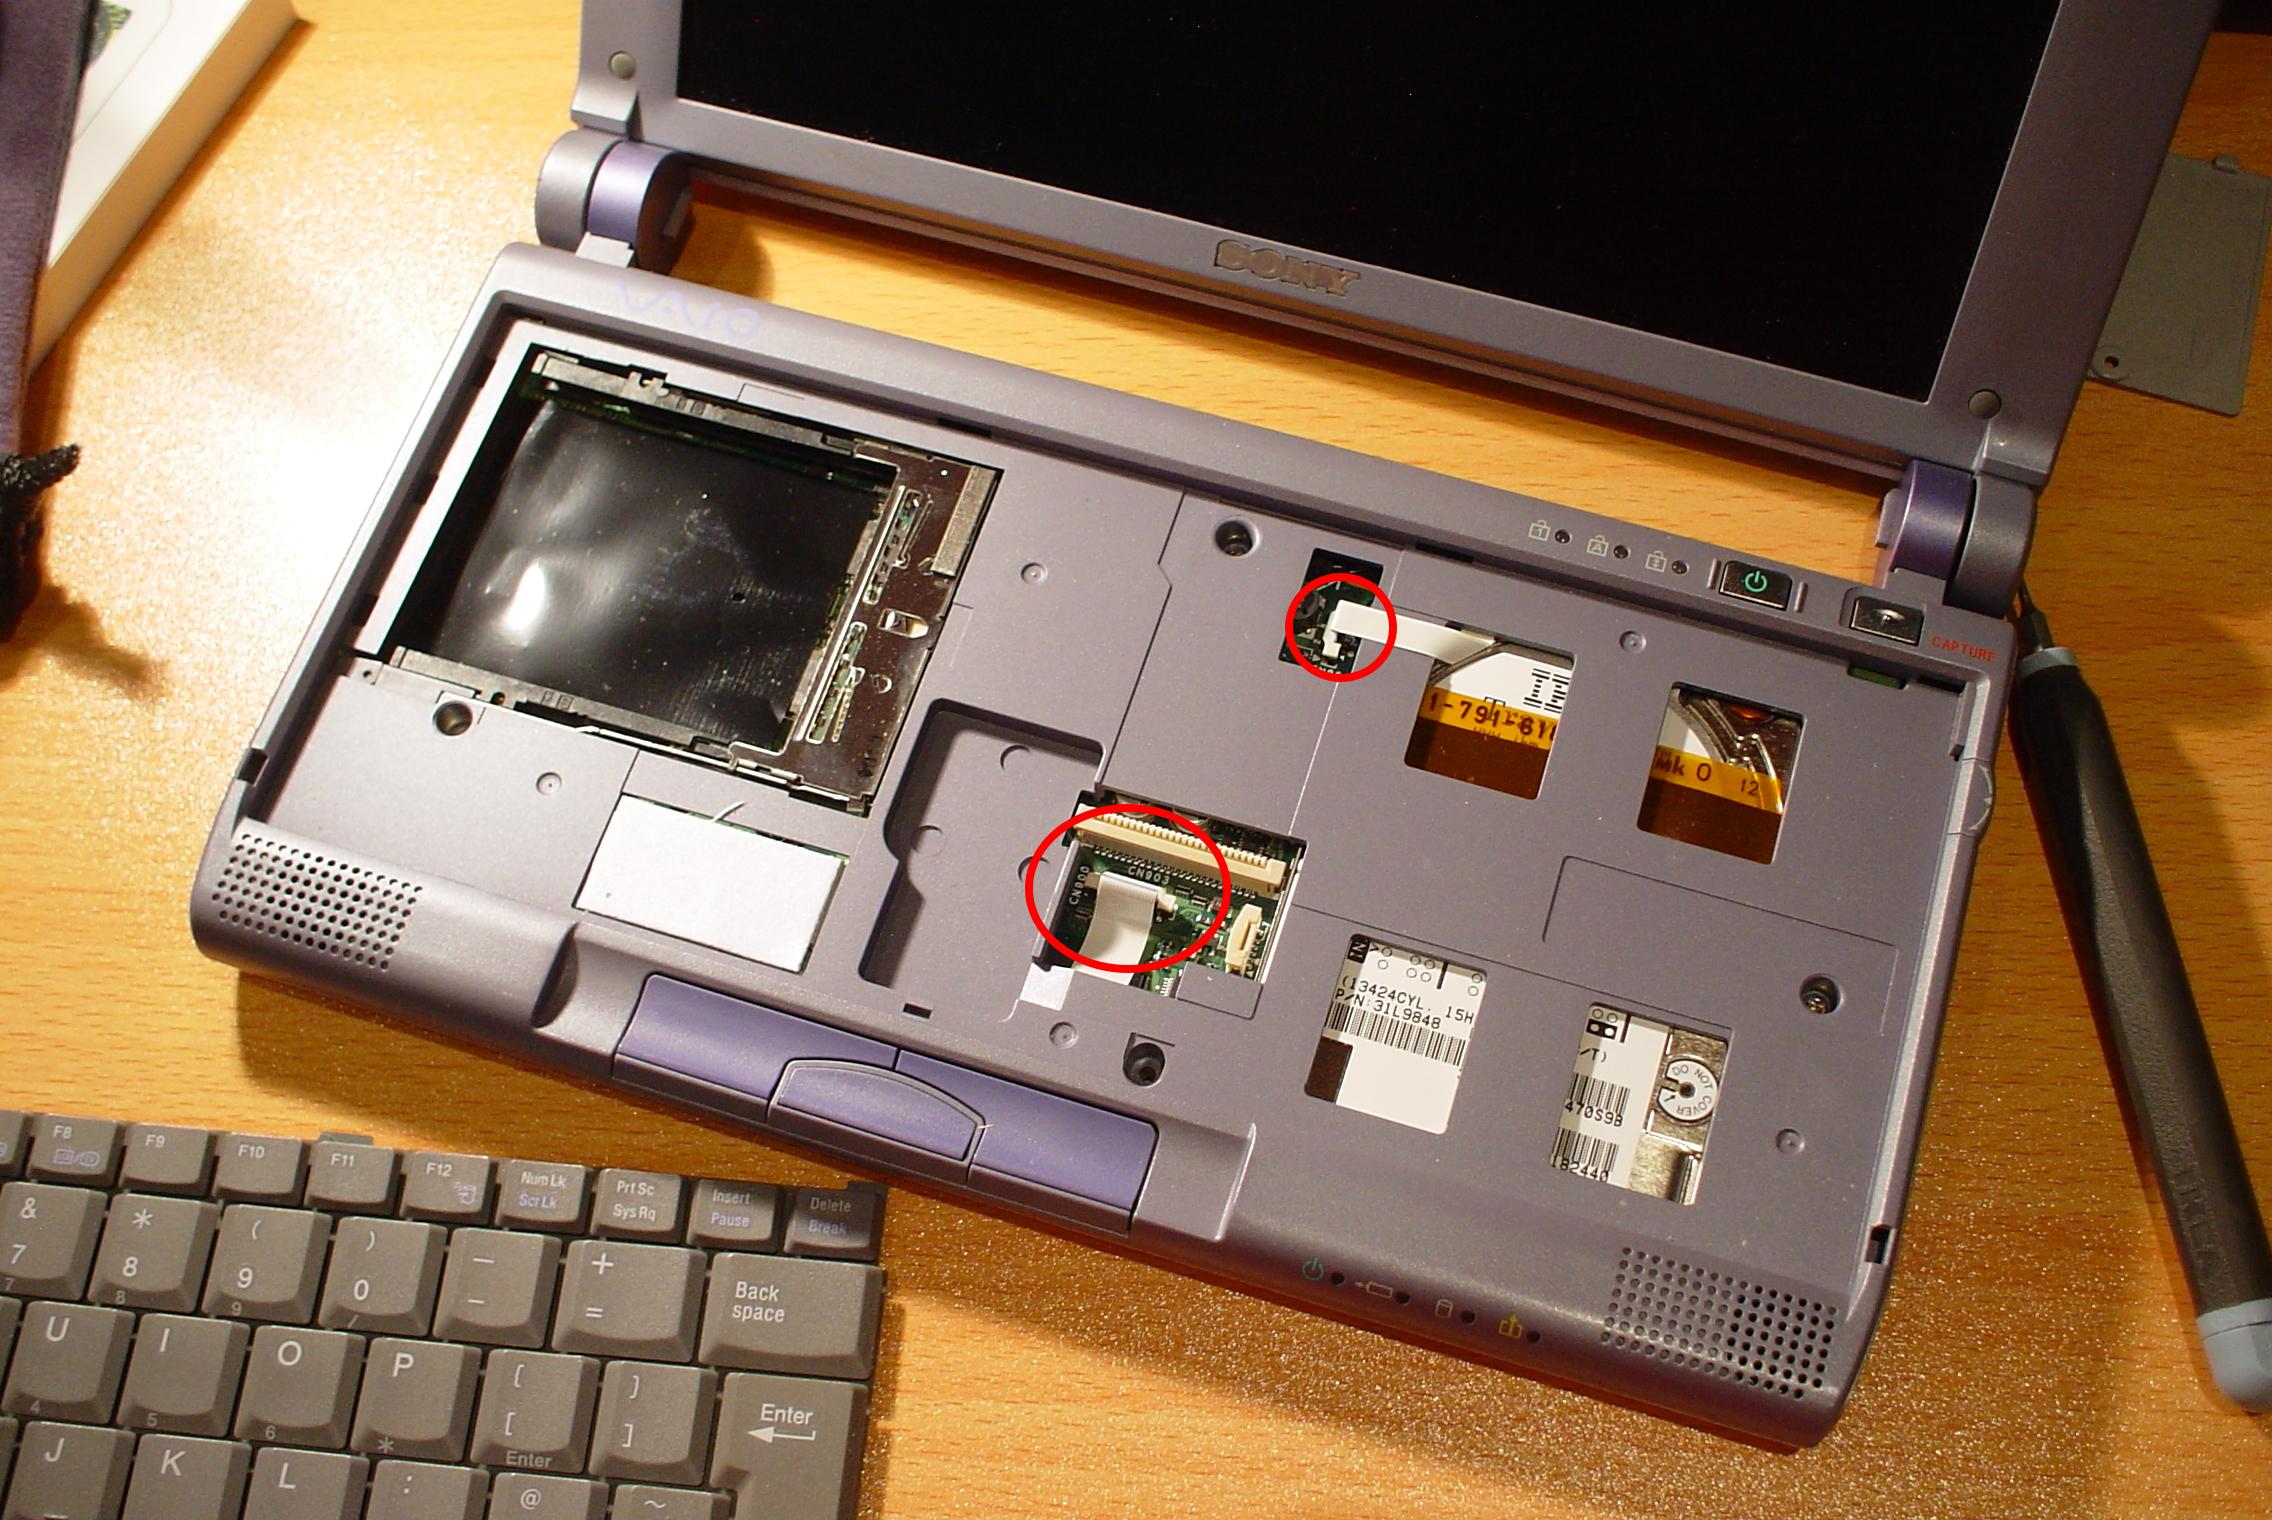
- Be careful removing the keyboard. Underneath it, there is a ribbon cable connecting it and the mouse nub to the motherboard.
- After removing the keyboard ribbon cables, remove the other two which you can see.
- Now remove the three screws holding the panel.
- From the left or right side, try removing the bottom panel by lifting it up. Should be pretty self explanatory.
- You now have access to the top of the motherboard. From here, you can upgrade the HDD, and replace the lithium CMOS battery.


Replacing the HDD:
You will need a replacement HDD or SSD (IDE to mSATA on Aliexpress)
- First remove the black cable by taking it out.
- Now remove the ribbon cable covering the HDD on both sides.
- Now remove the 3 screws holding the HDD to the motherboard.
- Now remove the HDD ribbon cable by pulling it out.


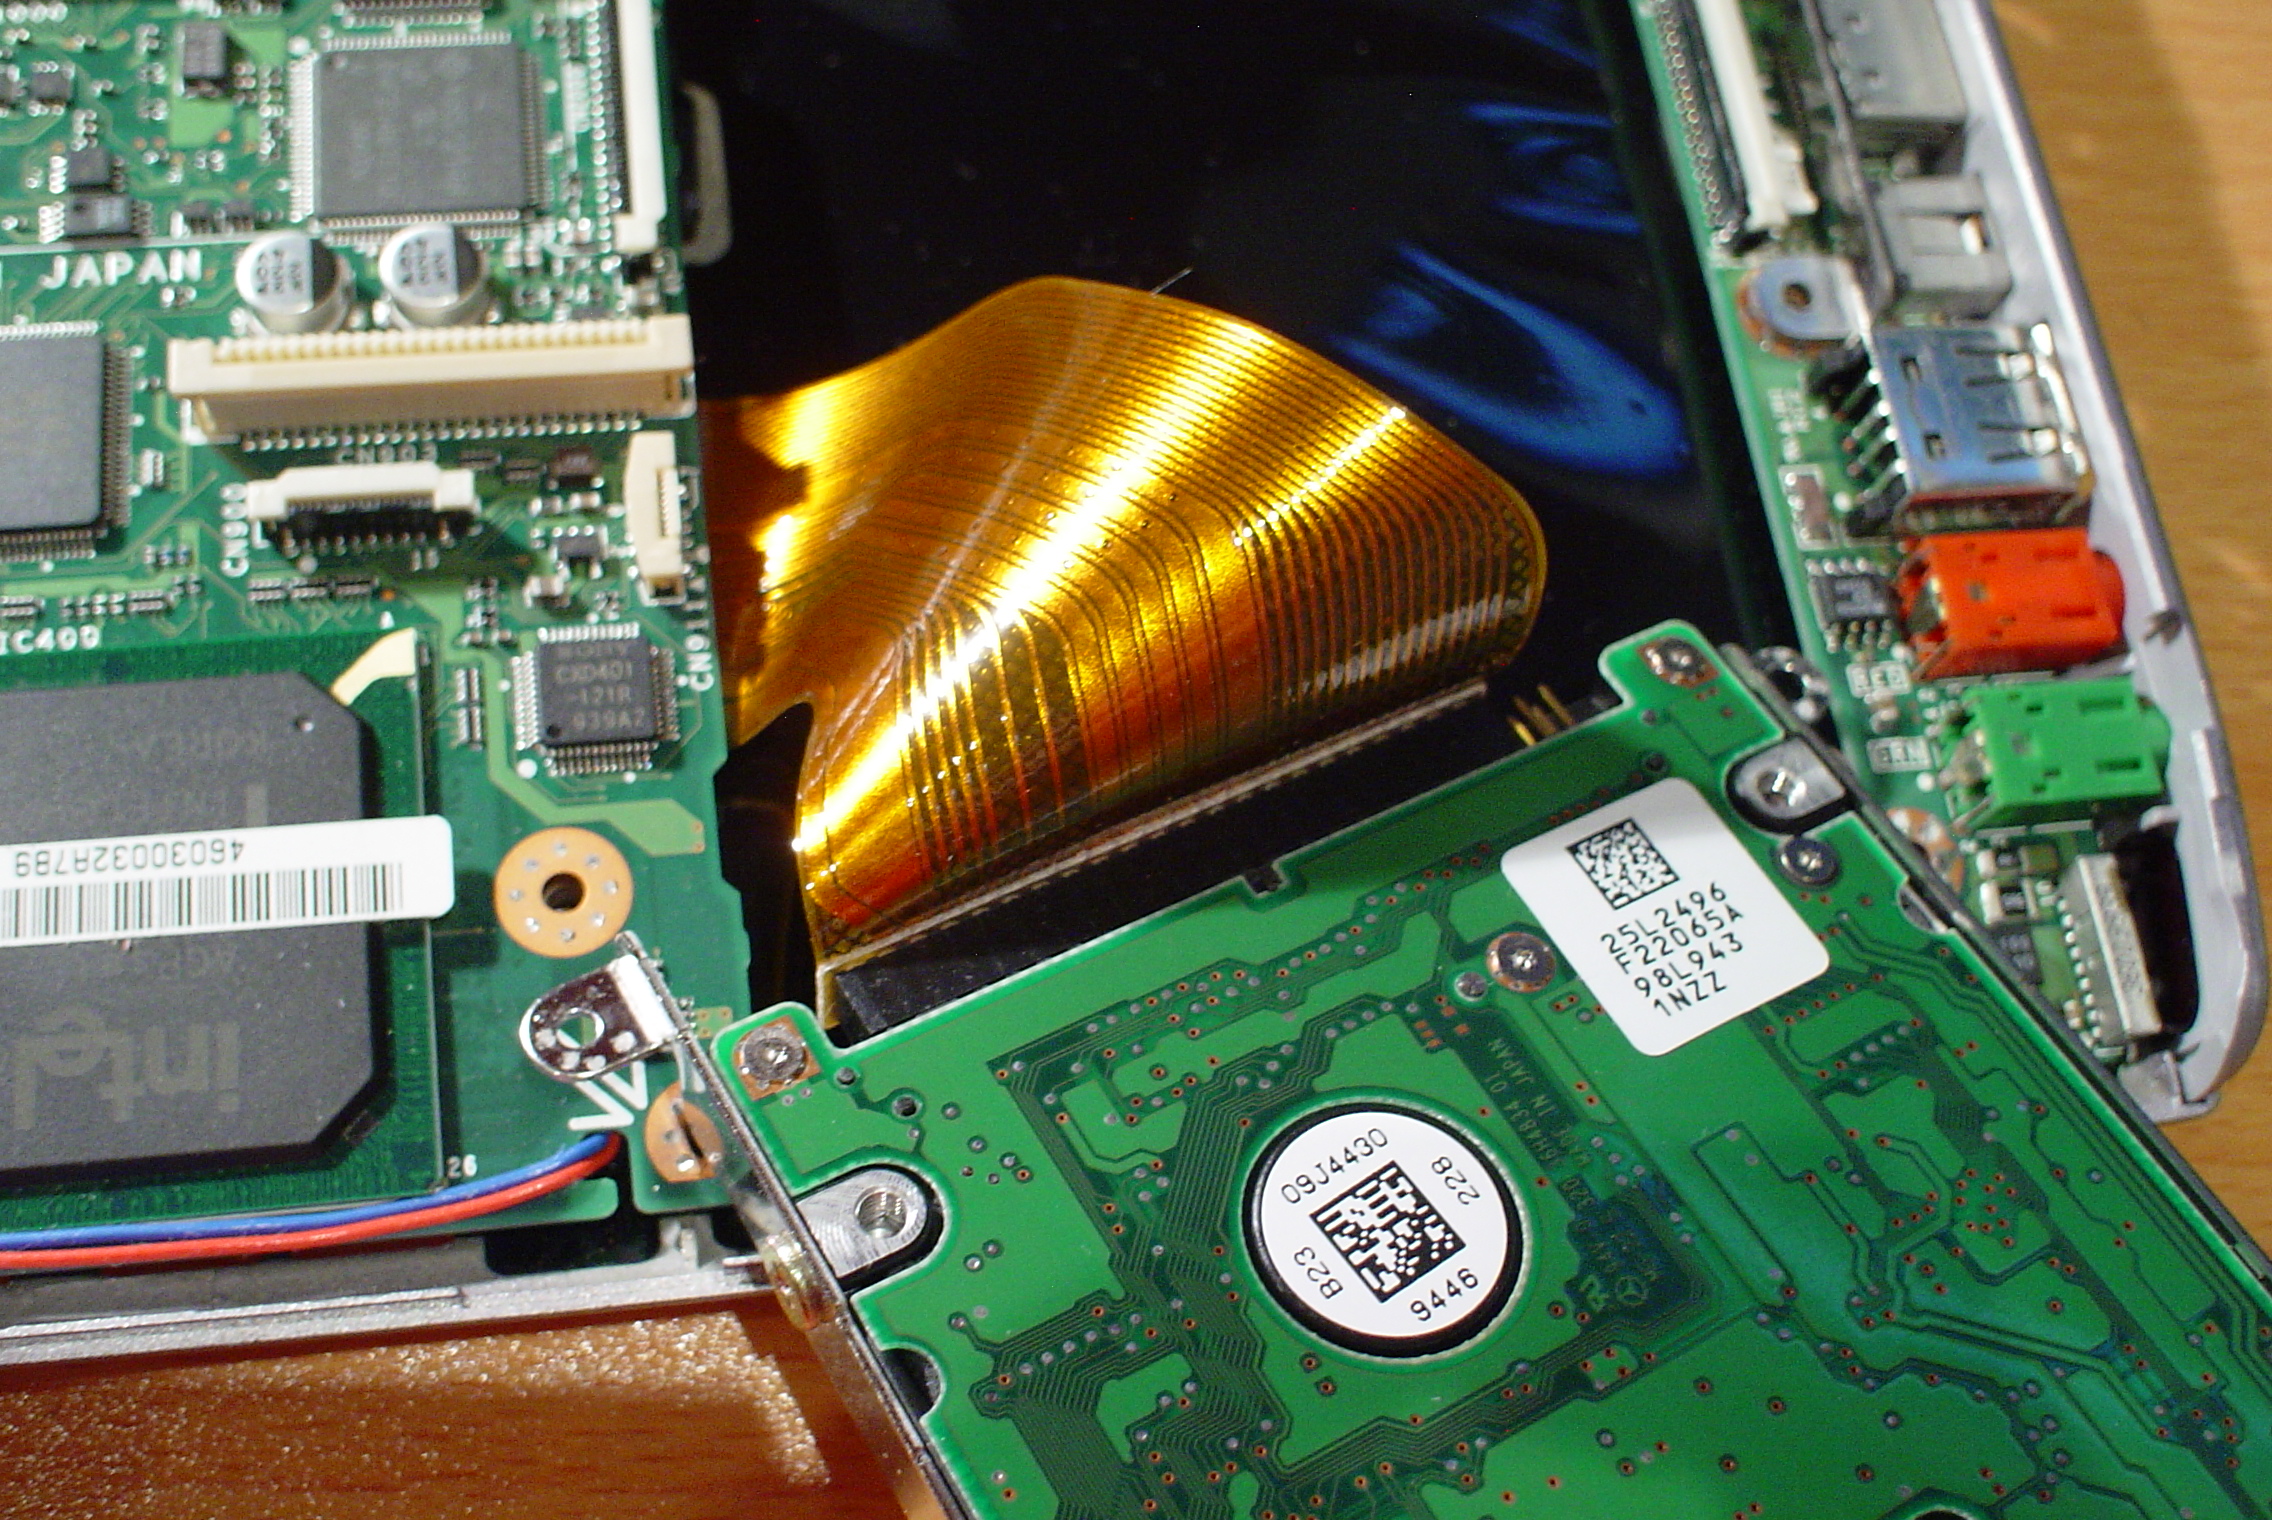
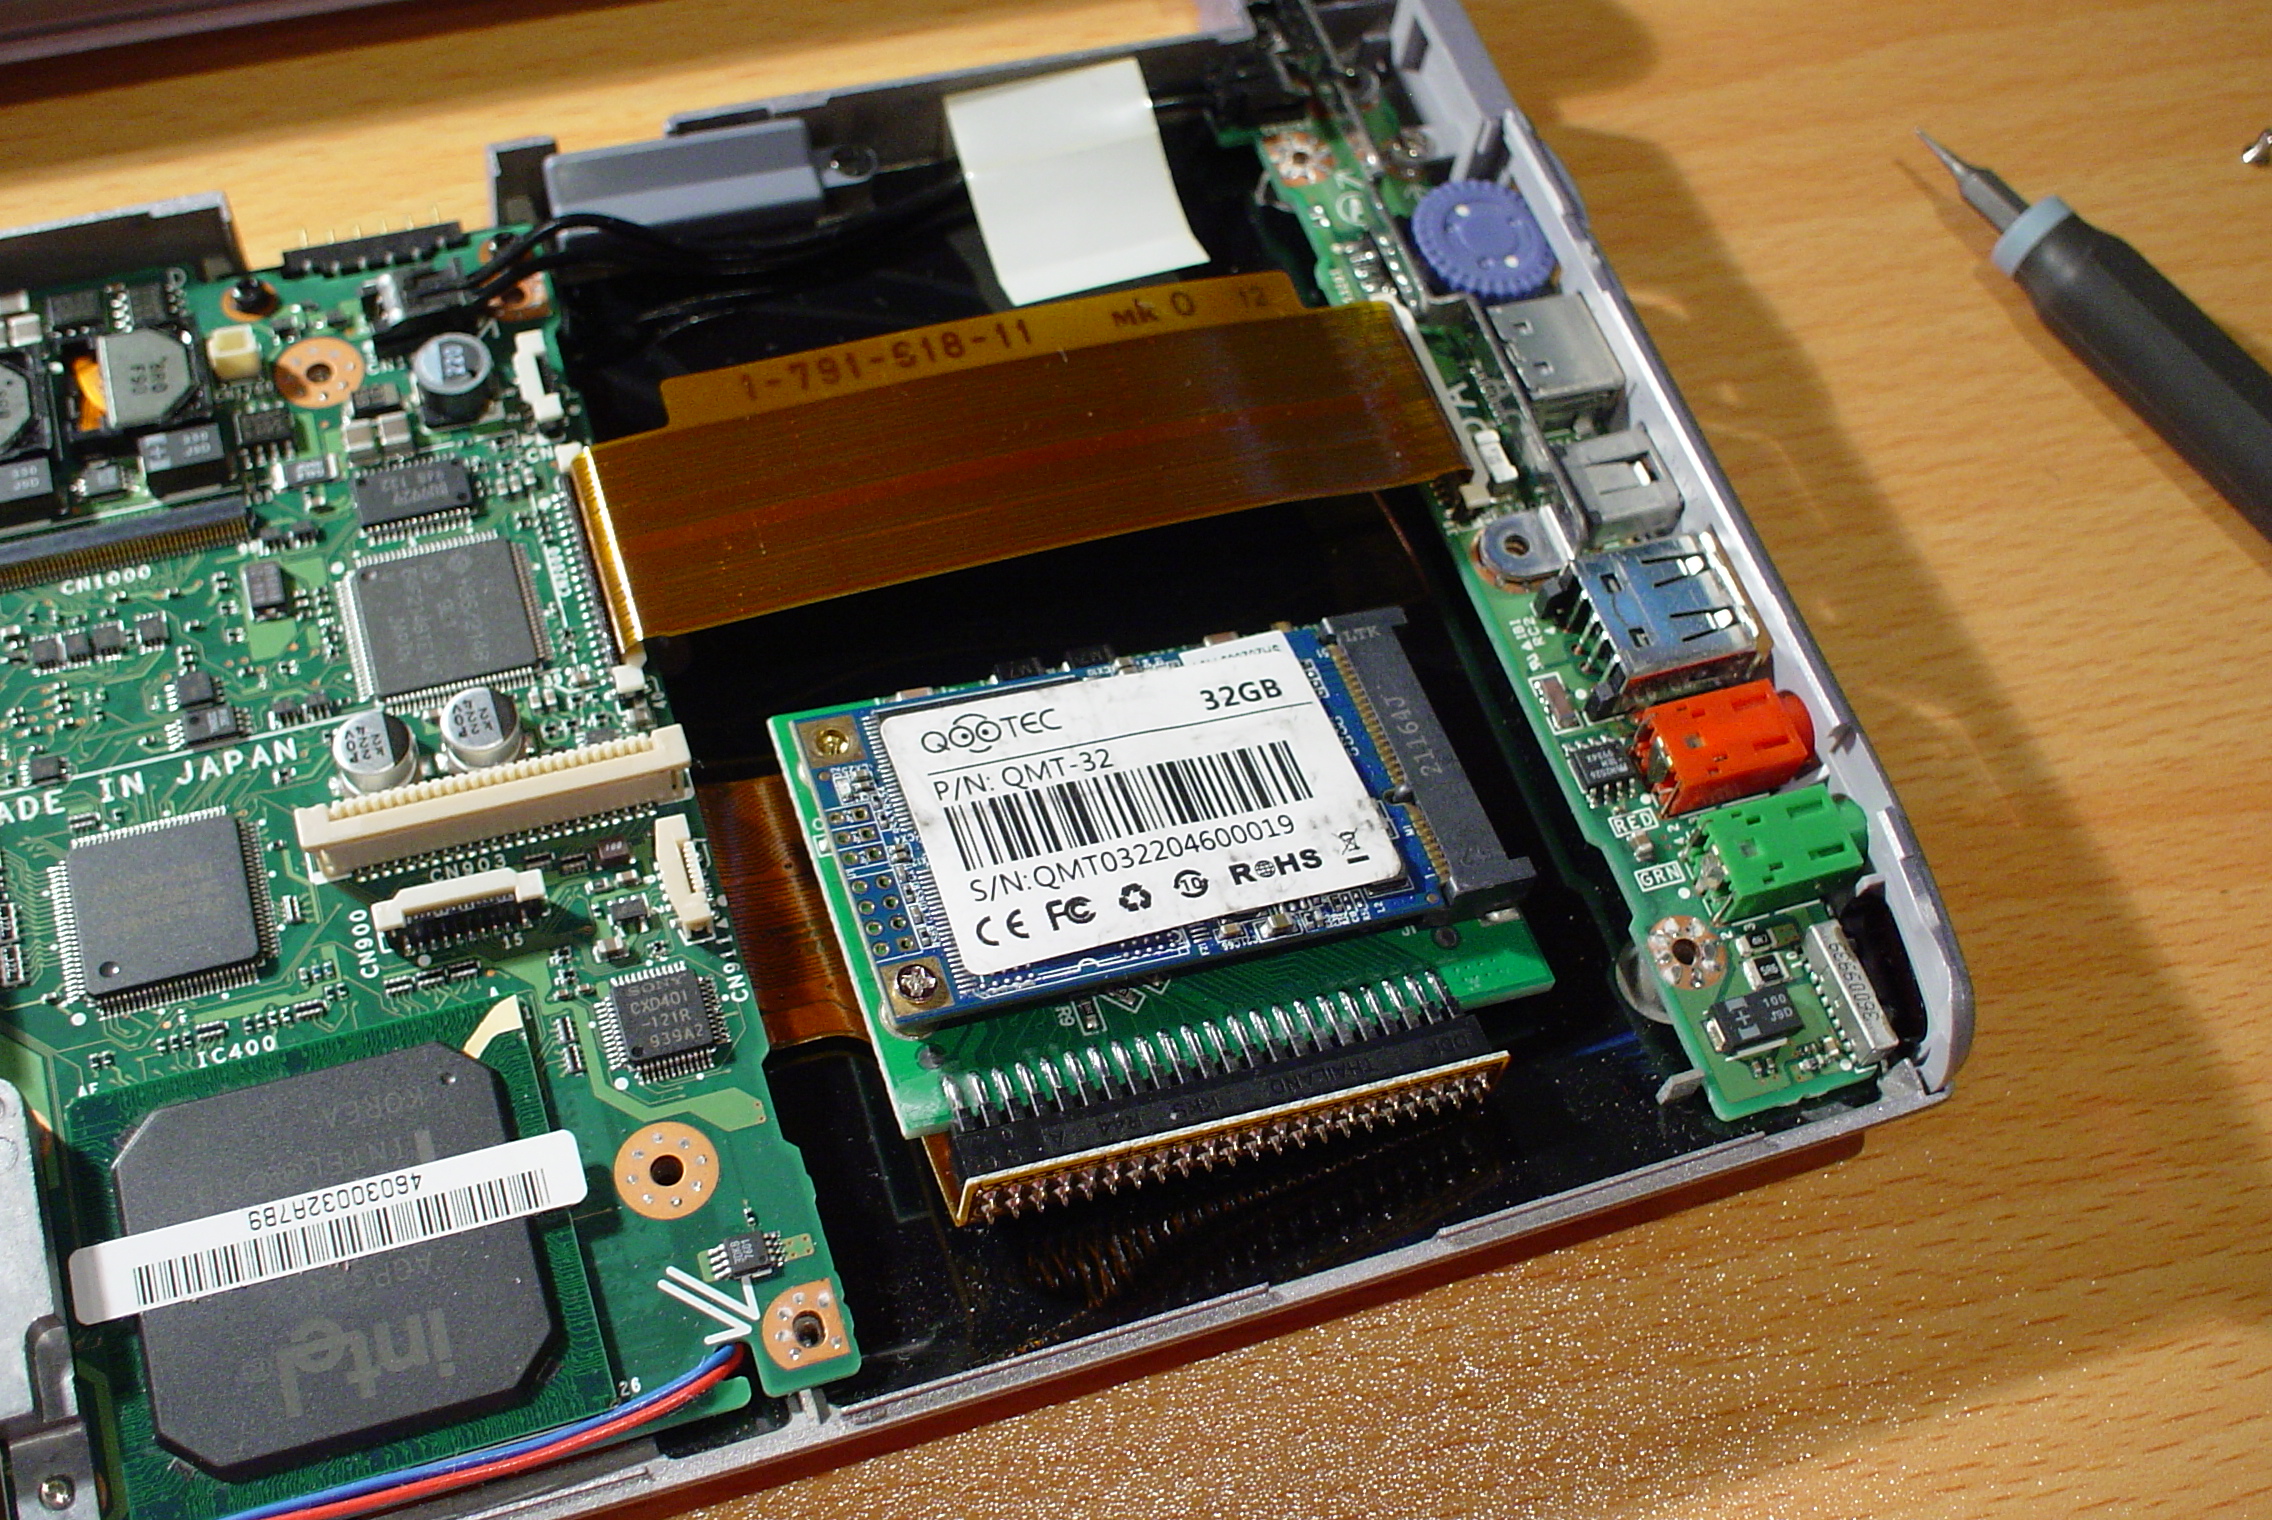
I put an SSD in my PCG-C1XN, using an IDE to mSATA adapter.
Replacing the lithium CMOS battery:
This replacement is not necessary, unless you want date and time working. The battery size is VL2020. Once I replace my battery, I will have this page updated with a guide on how to replace it.
- Remove the cable.
- Remove the battery with care, it is stuck onto the motherboard.

Back to the front page